Category Archives: sprinkles

Springtime Happiness Cookie Cake

DSC_0142

Yesterday I walked all the way from Beacon Hill to Fort Point Channel to the Public Garden (that’s like, all of Boston) without. wearing. a coat.

Do you know what this means??? SPRING HAS SPRUNG.

#happydance

DSC_0171#happydance #happydance

DSC_0145

#HAPPYDANCE

So full of happy, in fact, that I finally concluded my blogging hiatus, dusted off my sprinkle cabinet, and baked you a giant cookie! So many colors! So much happy!

I know I’m like every other person in the world when I say I didn’t know I was in a deep dark cold-weather depression until I finally felt the warmth of the sun, but really? Can we ever talk about it enough? SPRIIIIIIIIIIIIIIIING. Blue skies and birds chirping! Colorful flowers and leaves on trees! NO MORE MITTENS!

DSC_0153

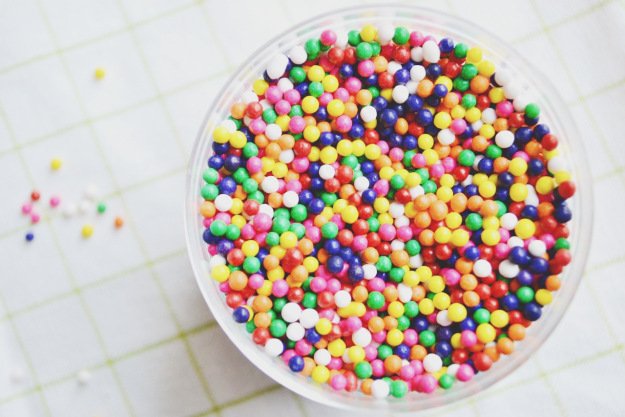
Also #happydance-inducing?? I baked this cookie using coconut oil instead of butter and it is reeeeal good. And there are rainbow sprinkles inside. Doo-dee-doo-dee-dooooo.

DSC_0158
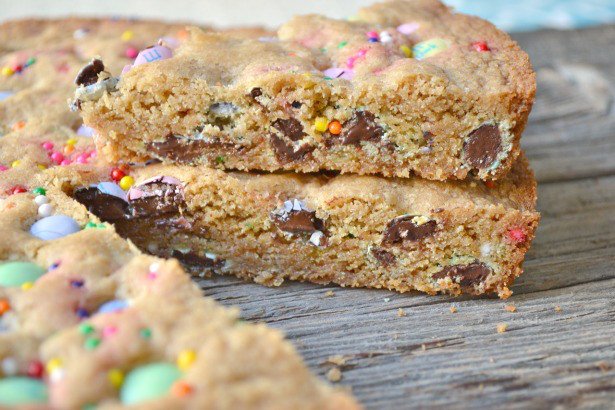
Springtime Happiness Cookie Cake (adapted from this cookie pie)

yield: one 9-inch cookie cake
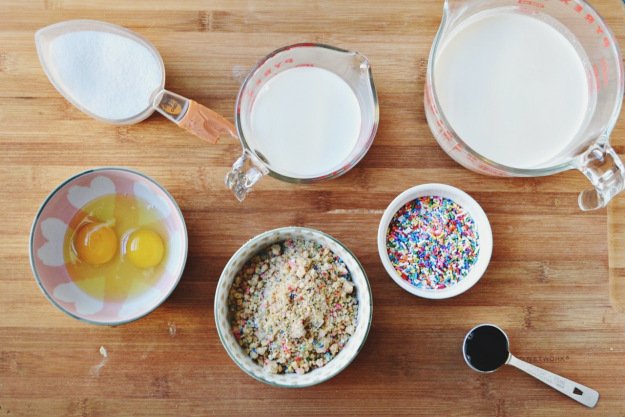
Ingredients

  • 1/2 cup coconut oil (or unsalted butter) at room temperature
  • 3/4 cup brown sugar
  • 1 egg
  • 1 teaspoon vanilla extract
  • 1 cup white whole wheat flour
  • 1 1/2 teaspoons baking powder
  • 1/2 teaspoon salt
  • 1 cup dark chocolate M&Ms (or semisweet chocolate chips)
  • A handful of sprinkles, if you’re feeling extra happy

Directions

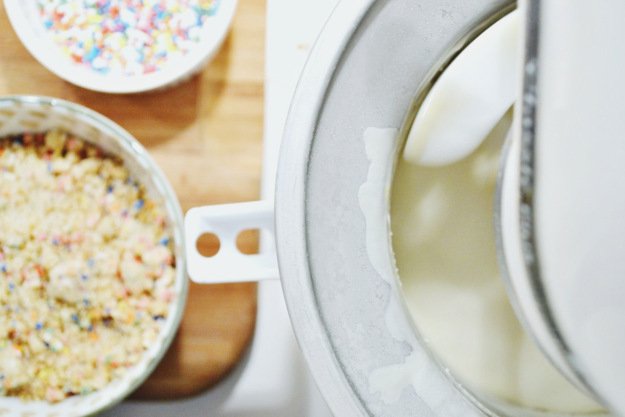
  1. Preheat the oven to 350 degrees. Generously grease (or coat with cooking spray) a 9-inch* round cake pan. In a medium bowl or the bowl of a stand mixer, beat the coconut oil and brown sugar together until smooth. Add the egg and vanilla; beat until fully combined.
  2. Scrape down the sides of the bowl and add the flour, baking powder, and salt. Stir on low until the ingredients just come together; add 3/4 of the M&Ms and sprinkles and stir until incorporated.
  3. Press the dough into the greased pan. Top with remaining 1/4 cup M&Ms. Bake for 20-25 minutes, or until the edges are golden brown. Cool completely** on a wire rack, then remove from the pan and serve.

*You can use an 8-inch or 10-inch cake pan, whatever you have on hand. Just adjust the time by a few minutes (longer bake time for 8-inch, shorter for 10-inch) to account for the different size.

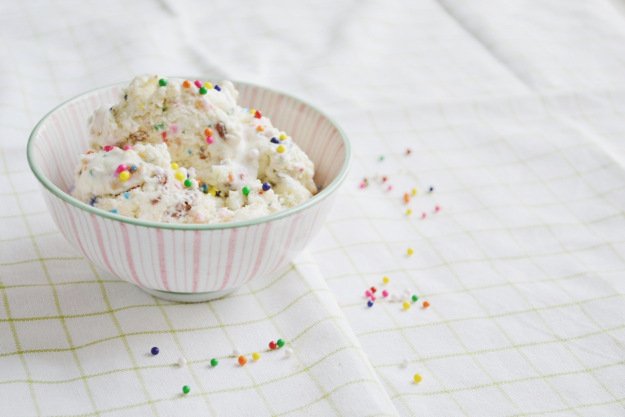
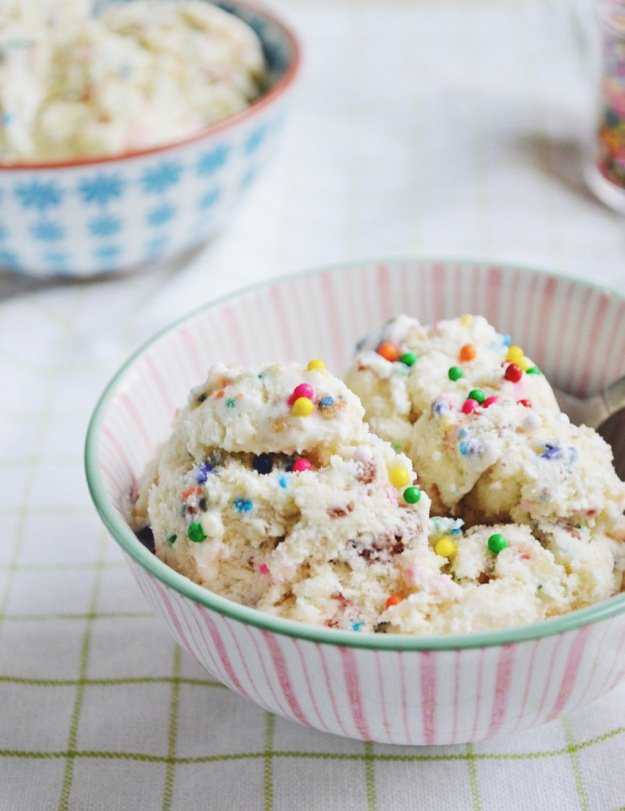
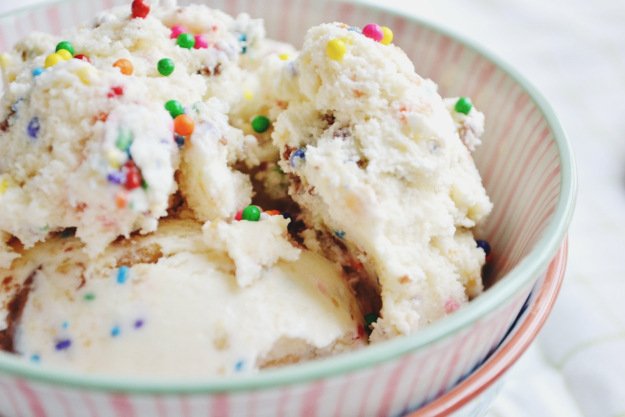
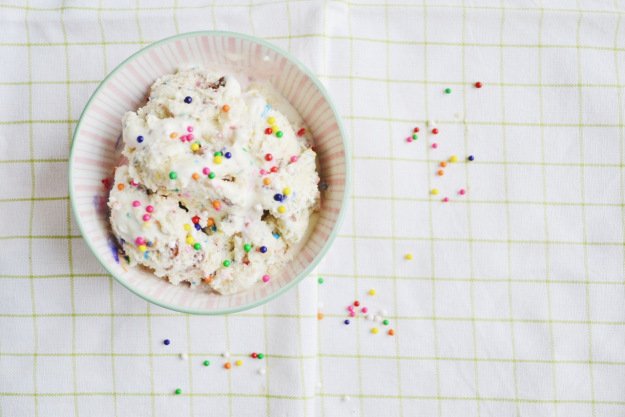
**Or.. don’t let it cool, top it with vanilla ice cream, and eat it straight from the pan. ;)

Birthday Cake Crumb Ice Cream

image_4

Here are two things you need to know about homemade ice cream:

1. It’s preeeetttttyyy dang easy to make. Vanilla ice cream has like, five ingredients.

2. Raw eggs. Do they freak you out? Too bad. They are allllll up in your homemade ice cream.

Ever since I made homemade ice cream for the first time, I stopped being afraid of raw eggs. I’m pretty much one of those dudes that cracks eggs into a glass and chugs them for breakfast.

image_7

Except totally not because I STILL feel like I need to be careful not to touch anything in my kitchen and wash my hands with three pumps of soap after cracking open an egg. But for some reason when the egg is whisked inside a pool of cream and vanilla and sugar I have no problem touching/eating/covering my kitchen with it. No hand washing required.

Will someone pleeeeeease explain to me why eating raw cookie dough is frowned upon but eating raw (?) ice cream is not?

image

image_6

Remember how I mentioned that you could potentially mix up melty vanilla ice cream and birthday cake crumbs and it just might be heavenly? Well, I decided to step it up a notch and make my own vanilla ice cream to pump full of crumbs and rainbow sprinkles (and maybe even *GASP* a chocolate buttercream swirl).

image_3

image_2Zeeeeess. Eeeeez. Gooooooood. Is Funfetti ice cream a thing yet? If not I totally just invented it. RAINBOW SPRINKLES AND BIRTHDAY CAKE. IN ICE CREAM FORM. FUNFETTI ICE CREAM.

image_5

If you’ve been wishin’ and hopin’ and dreamin’ and prayin’ about getting an ice cream maker/attachment…

It is time {said in Rafiki’s voice}.

Birthday Cake Crumb Ice Cream (Sweet Cream Ice Cream Base slightly adapted from Ben & Jerry)

yield: ~one quart

Ingredients

  • 2 large eggs
  • 3/4 cup sugar
  • 1 1/2 cups heavy cream*
  • 1 1/2 cups milk (I used 2%)*
  • 1 tablespoon vanilla extract
  • 1 1/2 cups birthday cake crumbs**, cooled completely
  • 1/2 cup rainbow jimmies

*The original recipe calls for 2 cups heavy cream, 1 cup milk, but I liked the slightly lighter and airier consistency that resulted from 1 1/2 cups of each. If you want a denser, creamier ice cream go with the original ratio (2 cups cream, 1 cup milk).

**note: I used Momofuku’s birthday cake crumbs (recipe link in the ingredients list) for this - which are different than crumbs from a leftover cake (they are a much denser, crunchier consistency). You might be able to use pieces of a leftover birthday cake in the ice cream, but I haven’t tried it so I can’t be sure!

Directions

  1. In a large bowl or the bowl of a stand mixer fitted with the whisk attachment, whisk the eggs until light and fluffy, about 1 to 2 minutes. Slowly whisk in the sugar a little bit at a time, then whisk until fully incorporated, about another minute. Pour in the cream, milk, and vanilla extract, and whisk to combine.
  2. Pour the mixture into your ice cream maker/attachment and freeze according to maker/attachment directions. When the ice cream has frozen to soft serve, gently fold in the birthday cake crumbs and rainbow jimmies (and if you’re feeling fancy and happen to have some chocolate buttercream lying around, fold that in too!) with a rubber spatula. Freeze in an airtight container for a few hours, or until ice cream reaches desired consistency (I liked mine best after it had been sitting in the freezer over night).